
Edit Tablature
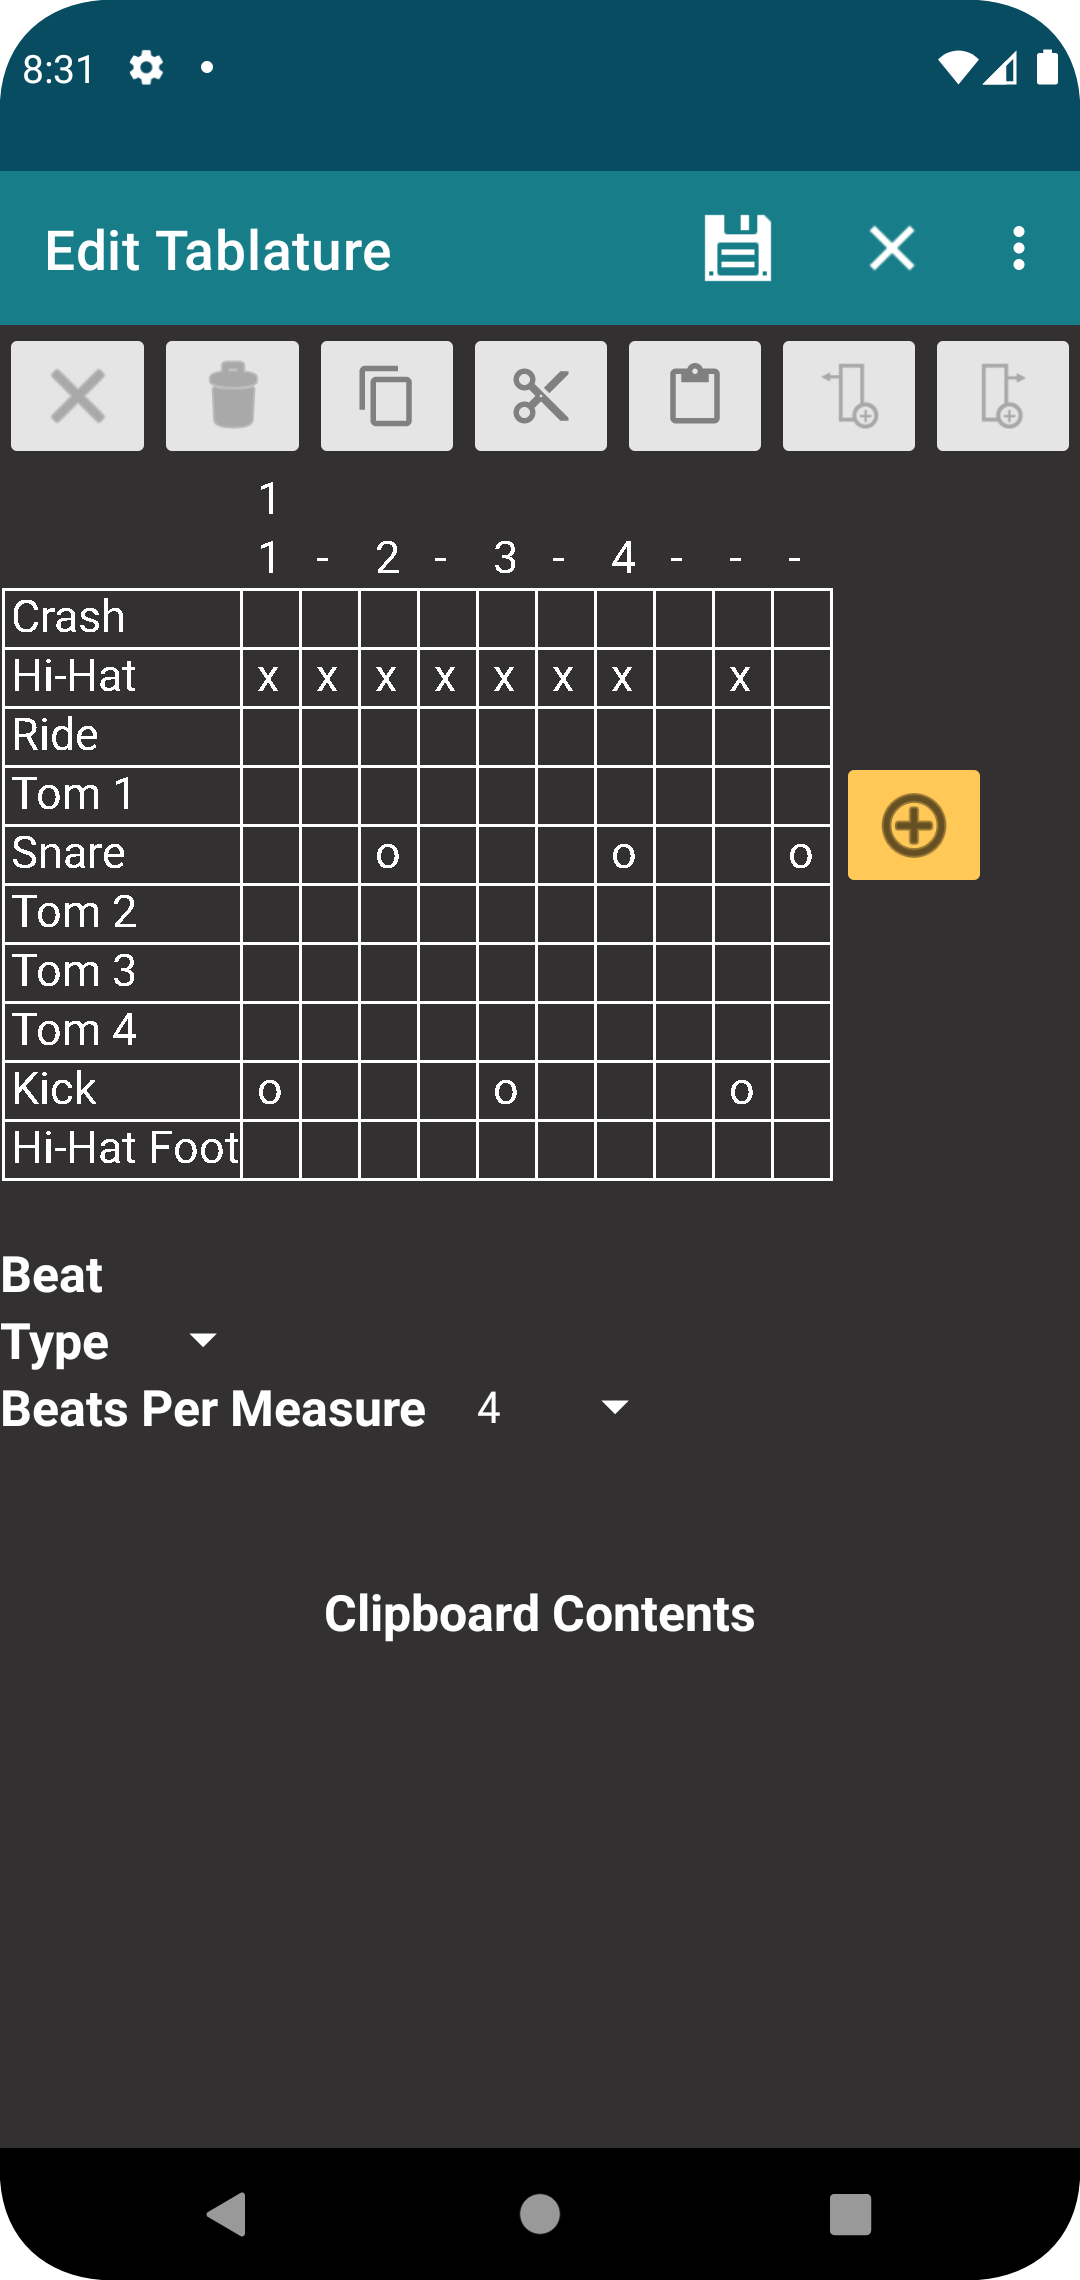
This screen allows you to edit drum tablature that is part of your song notes. Use this to remind yourself about the basic rhythm of a song or maybe how to play a fill that you have worked out and want to make sure you play it the same every time.
The left-hand side of the table shows the avaiable percussion instruents and corresponds to basic drum notation. Across the top of the table, you will see measure numbers and below that, the beats within the measure, where whole beats are notated with a number. Each cell in the underlying grid are the music notes that corresponds to an instrument and beat where you indicate what is to be played, simiilar to placing a note on a music staff.
On this table, you can select an individual note, and instrument, an entire beat or an entire measure, which then gives you the opportunity to perform various functions. Buttons and dropdown menus are enabled accordingly.
Global functions
These are functions that operate on the tablature as a whole and do not require anything to be selected.
The add measure button will append an empty measure the end of the tablature.
The tablature assumes that a whole note is for beats, but the beats per measure can be changed to match the song you are playing. The default is four beats per measure.

Save all changes and return to the previous screen. Note that this only adds or updates the tablature in the song notes that are currently being edited. The song itself must then be saved to capture your changes. If you save the tablature into the notes but then discard the changes to the song, you will discard your changes to the tablature.
Discard all changes and return to the previous screen.
Note Type
Note type specifies how the specific percussion insturment is played. For example, a cymbal can be played by striking it in the normal fashion, choking it, or playing the bell of the cymbal. Drums can be struck in the normal way, or you can play the rim, or play as a ghost note. The drop down for the note type is enabled when either the instrument is selected or when an indiviuall note is selected. Chaning the note type does not impact any notes already placed in the table. It only applies for the next note placed in the table. The editor remembers the note type you select for a each instrument, so you don't have to constantly set it.
 |
or |
enables |
 |
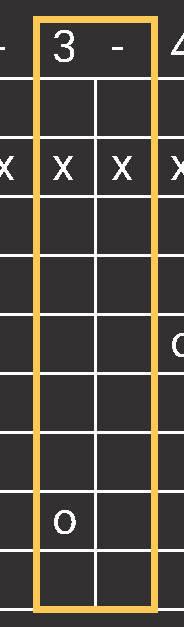
Beat Resolution
For each beat in the measure, you can set the resolution for that beat, such as quarter note, sixteenth notes, eighth note triplets, etc. This will then modify that table to allow you to enter notes at that resolution. For example, if the select beat is number two and is currently a whole note, it will show a single column of cells for that beat. If you then change the beat resolution to sixteen notes, four columnes will then shown under beat two. The dropdown for setting the beat is enabled when either an individual note is selected or if a beat is selected.
 |
or |
enables |
 |
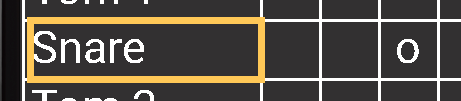
Set and Clear a Note
To add a note to the table, you first select an empty cell which will highlight it. Selecting that same cell again will then add the note specified in the note dropdown. To remove a note, you select a cell with a note already in it then press again, which will delete the note.
Select empty cell. |
Press the same cell again to add the note. |
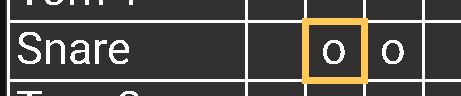 |
Press again to remove the note. |
Measure and Beat Functions
These are functions that operate on a selected measures or beats.
Clears all notes from the selected measure or selected beat.
Delete the selected beat and measure and shift everyting to the right of the selection to the left. This button will not be enabled if there is only one measure in the tablature.

Copy the selected measure or selected beat to the clipboard. The contents of the clipboard will be displayed at the bottom of the screen.

Copy the selected measure or selected beat to the clipboard and then delete it.

Paste the measure stored on the clipboard into the selected measure, or paste the beat stored on the clipboard into the selected beat. The button will not be enabled if a beat is selected and there is a measure on the clipboard, or if there is a measure on the clipboard and a beat is selected.

Insert to the left of the selection. If a beat is selected, a beat will be inserted to the left, and if necessary, an additional measure will be added to the end. If a measure is selected, a full measure will be inserted to the left.

Insert to the right of the selection. If a beat is selected, a beat will be inserted to the right, and if necessary, an additional measure will be added to the end. If a measure is selected, a full measure will be inserted to the right.